
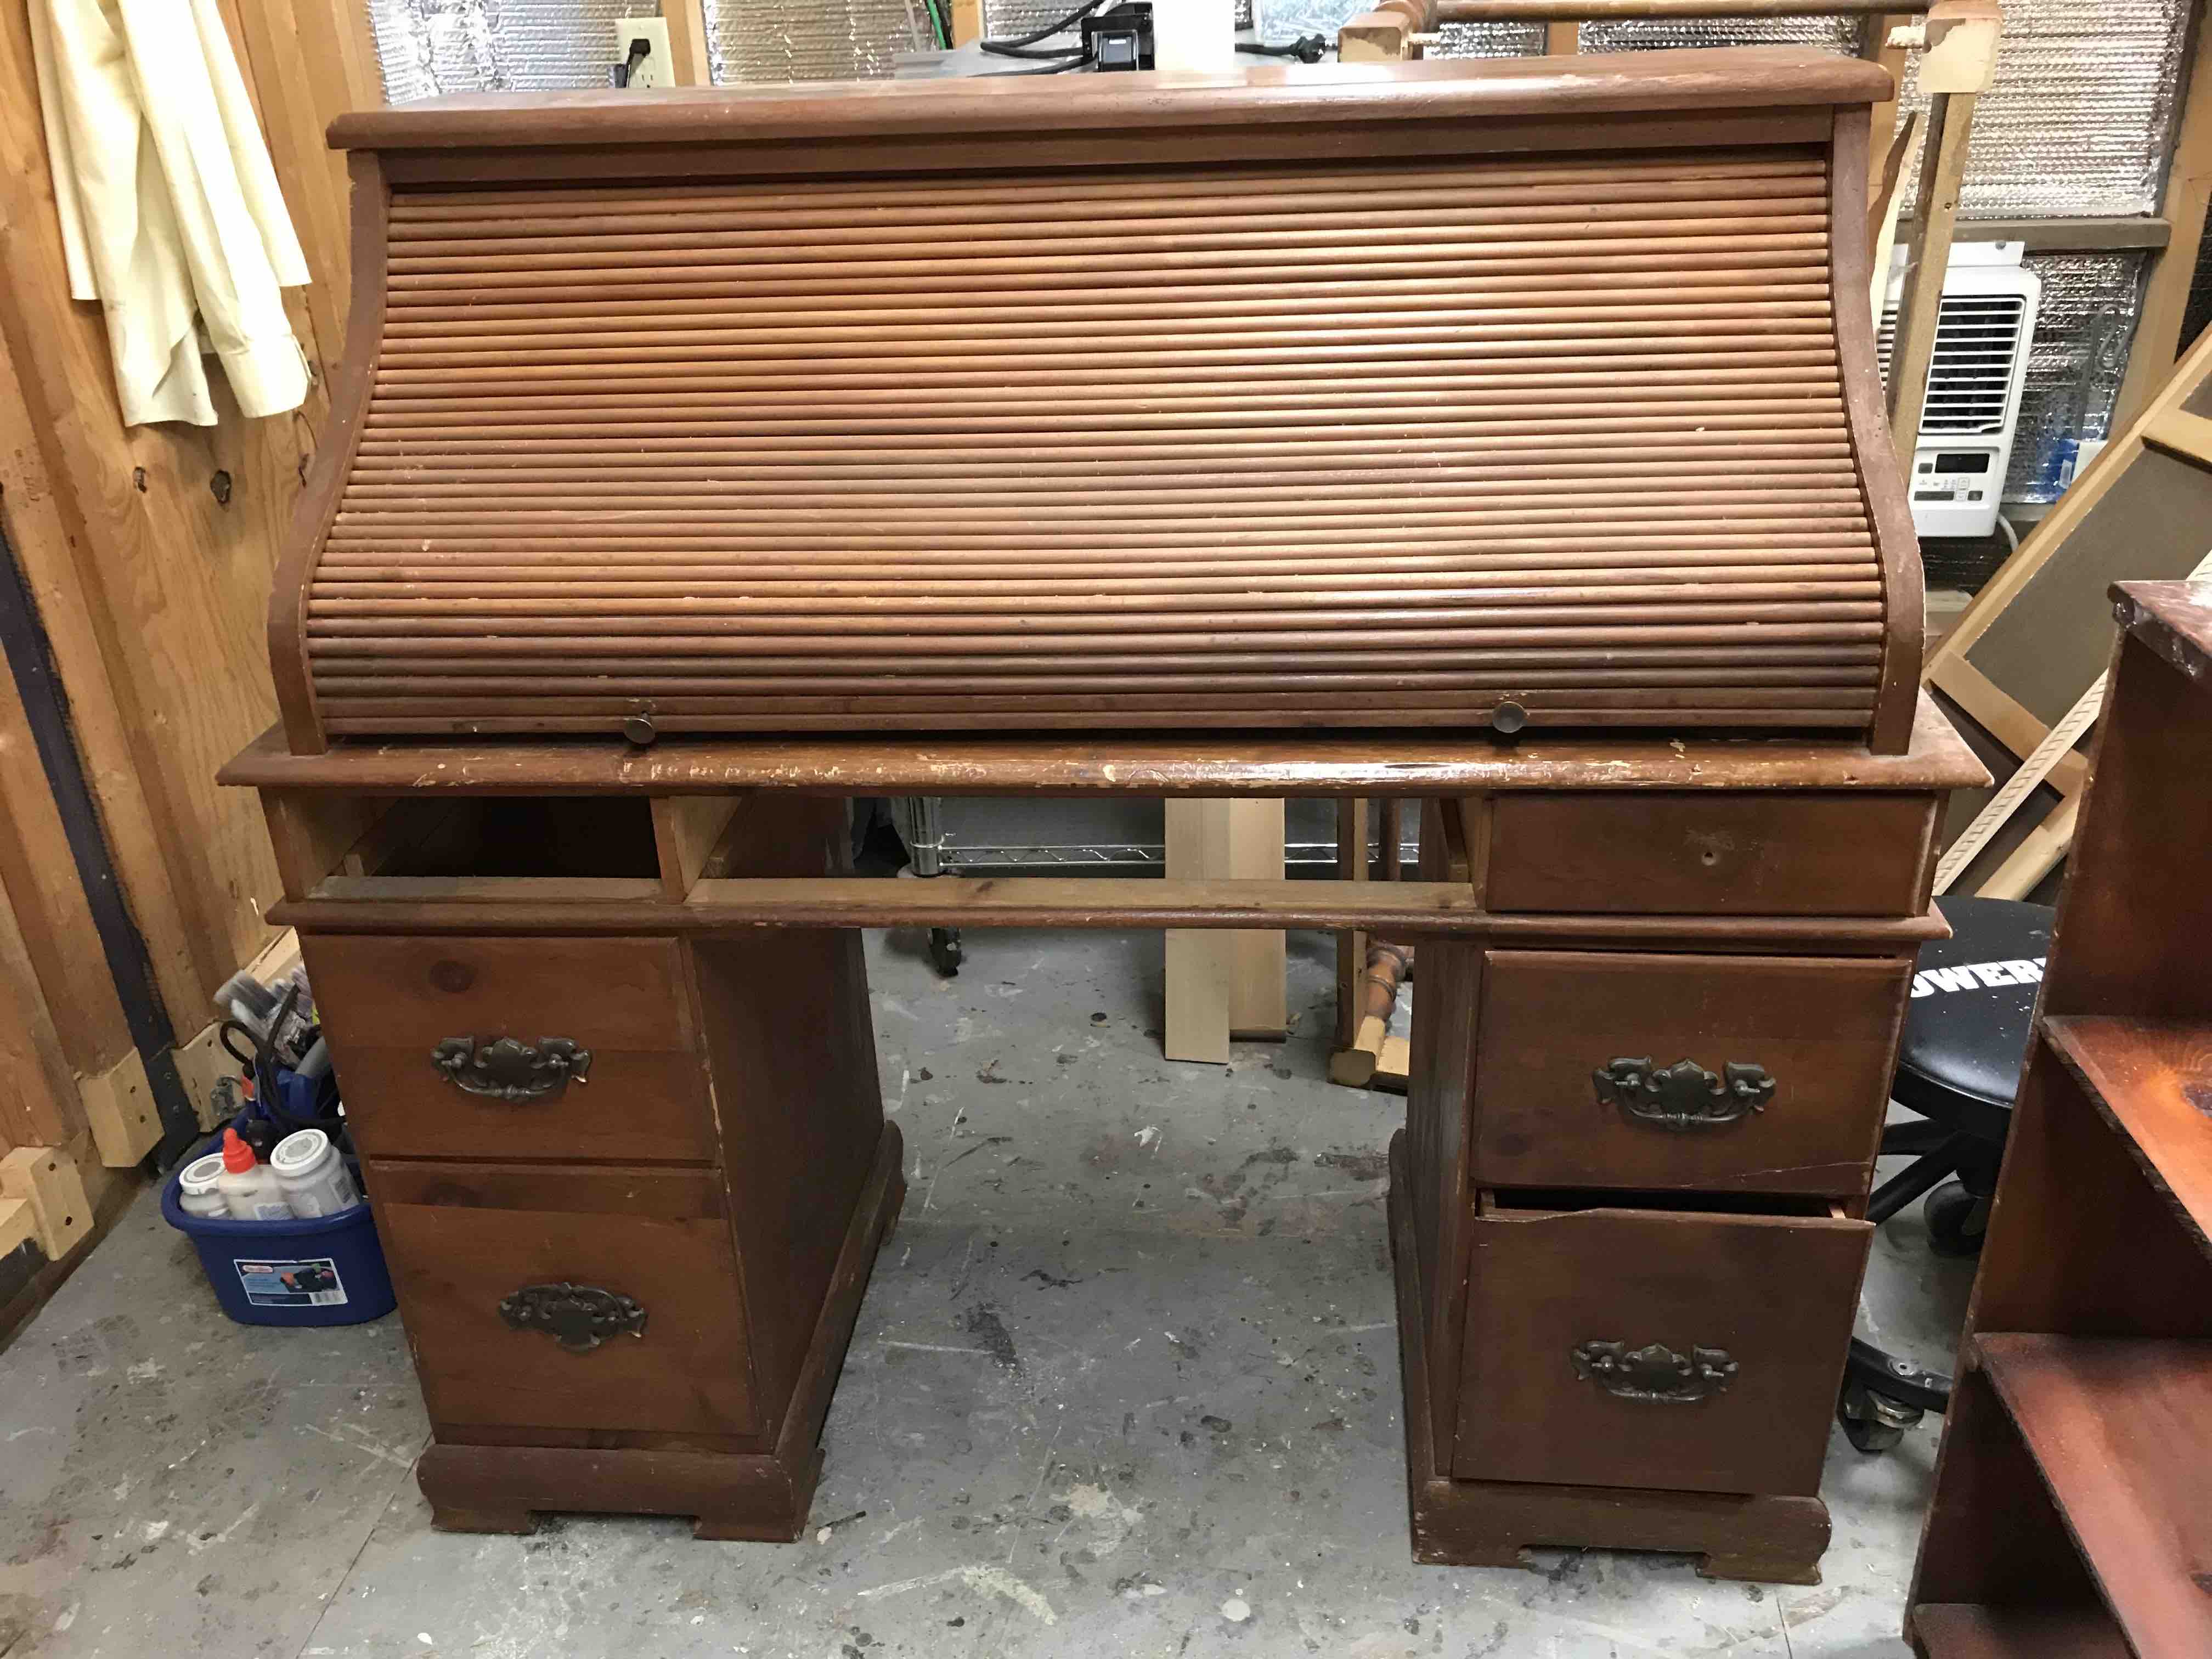
I don’t know about you –but to me, a roll-top desk is super nostalgic. When I was a kid we had a giant roll top desk in our family room. It didn’t matter that the top never really rolled correctly or smoothly. The bottom line was that it was SO COOL!!
When this little number crossed my path, I knew I had to bring it back to life. When I brought it home, the roll top barely rolled, the middle drawer was completely missing and one of the top drawers was in 4 pieces. Bear in mind that a drawer has 5 pieces, so I was in for a little extra reconstruction.
Figuring out my color scheme was tricky because of the roll top. Painting it would only make it more difficult to roll up and down. Stripping down the old finish was out of the question, because, well, I’m not that big of a glutton for punishment. I settled on a gel stain that can go over an old finish and that did not add bulk. I chose General Finishes Java Gel and decided to carry that finish onto the drawer fronts, work surface, and top. The rest I would paint in Waverly Chalk Paint in Mineral.
Now that the plan was in place, it was time to get to work. I started by reconstructing the drawer. I had to cut a new bottom for it, and then reassemble the remaining pieces, clamp and glue the whole thing back together. While that was drying, I had to figure out what to do about the missing middle drawer. I decided the best option was to create a false plate on the front and went with a wainscot material to add interest and texture. I cut the piece to size and attached it to the front with wood glue. It was at this point that I realized one of the drawers had a significant chip out of the top that really could not be rebuilt with wood filler.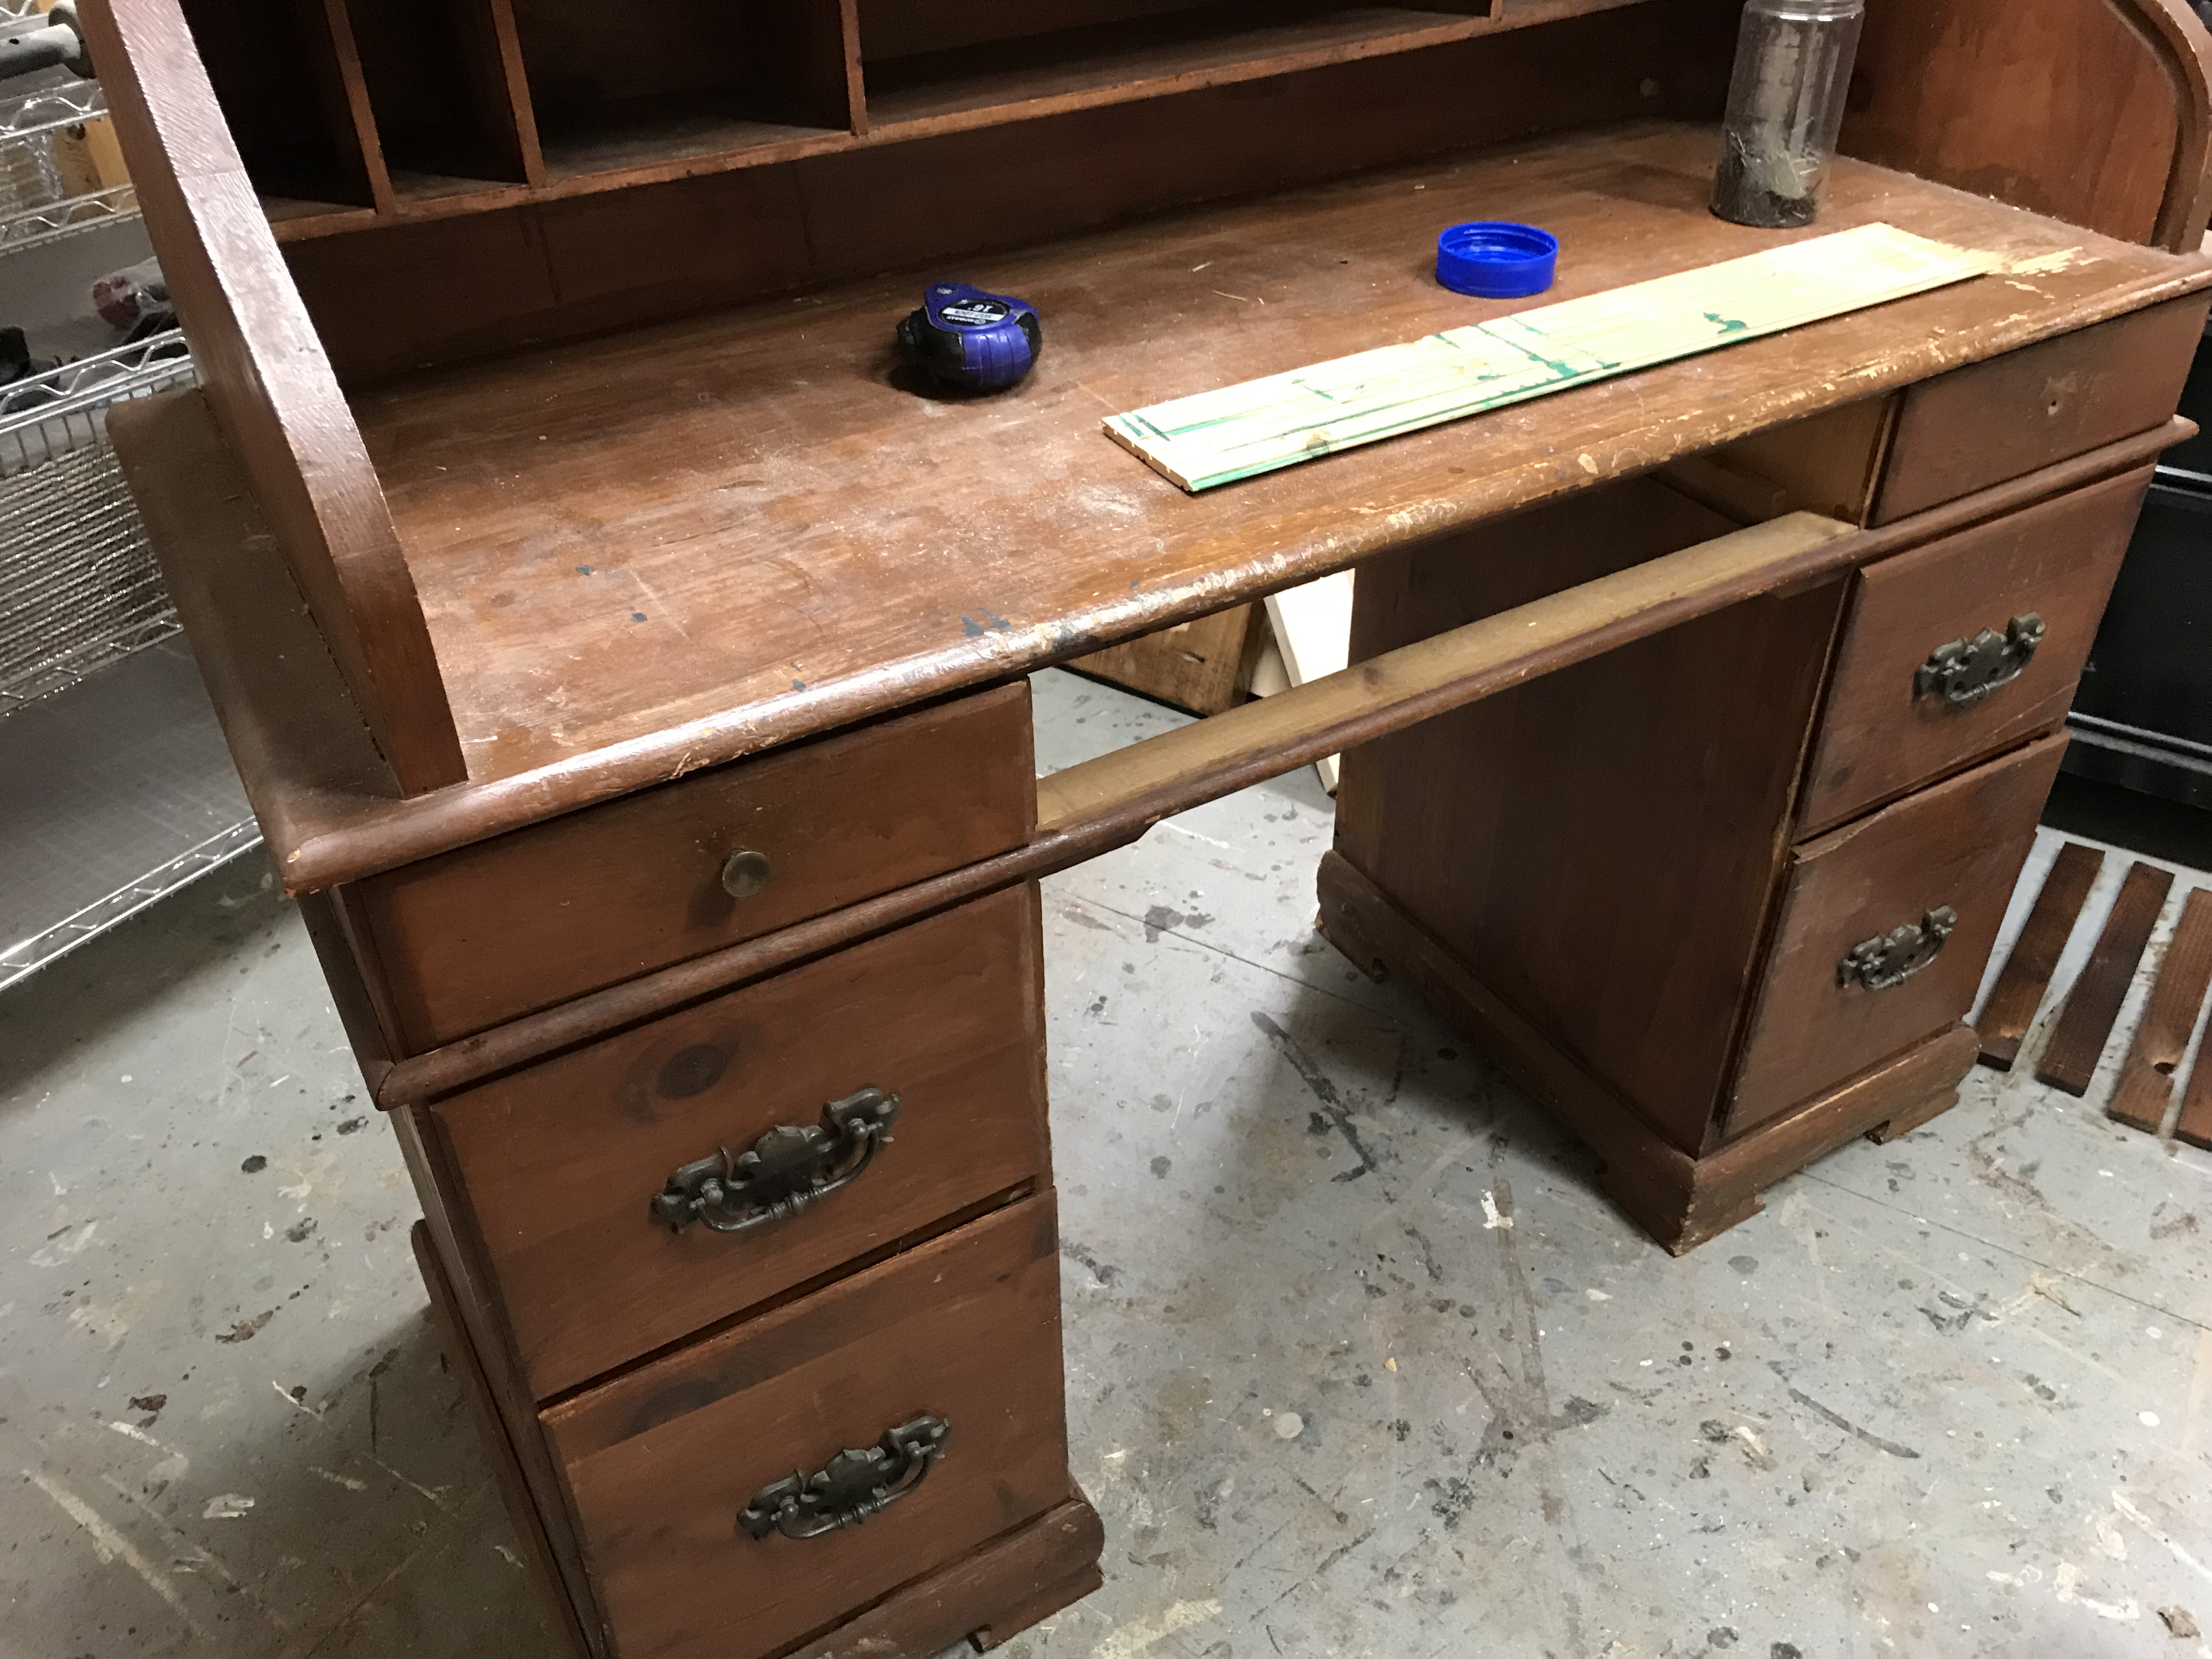
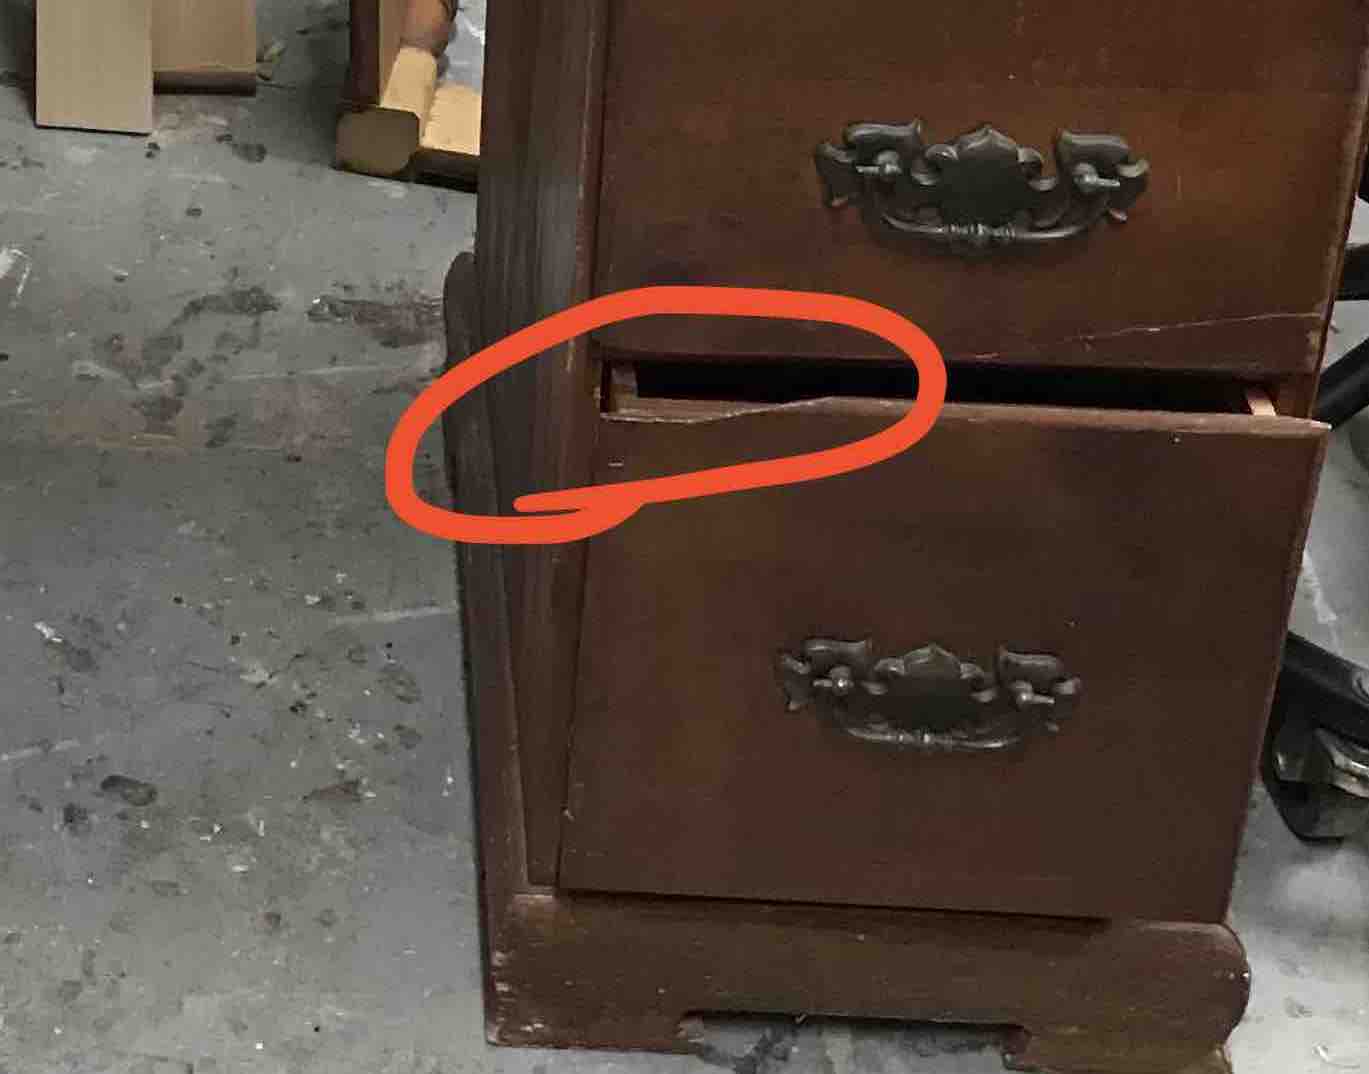
My solution was to sand the top edge of the drawer down and attach a trim piece to create a finished top. I did the same to the matching drawer on the other side. Finally, I filled in deep scratches and gouges on the body of the desk.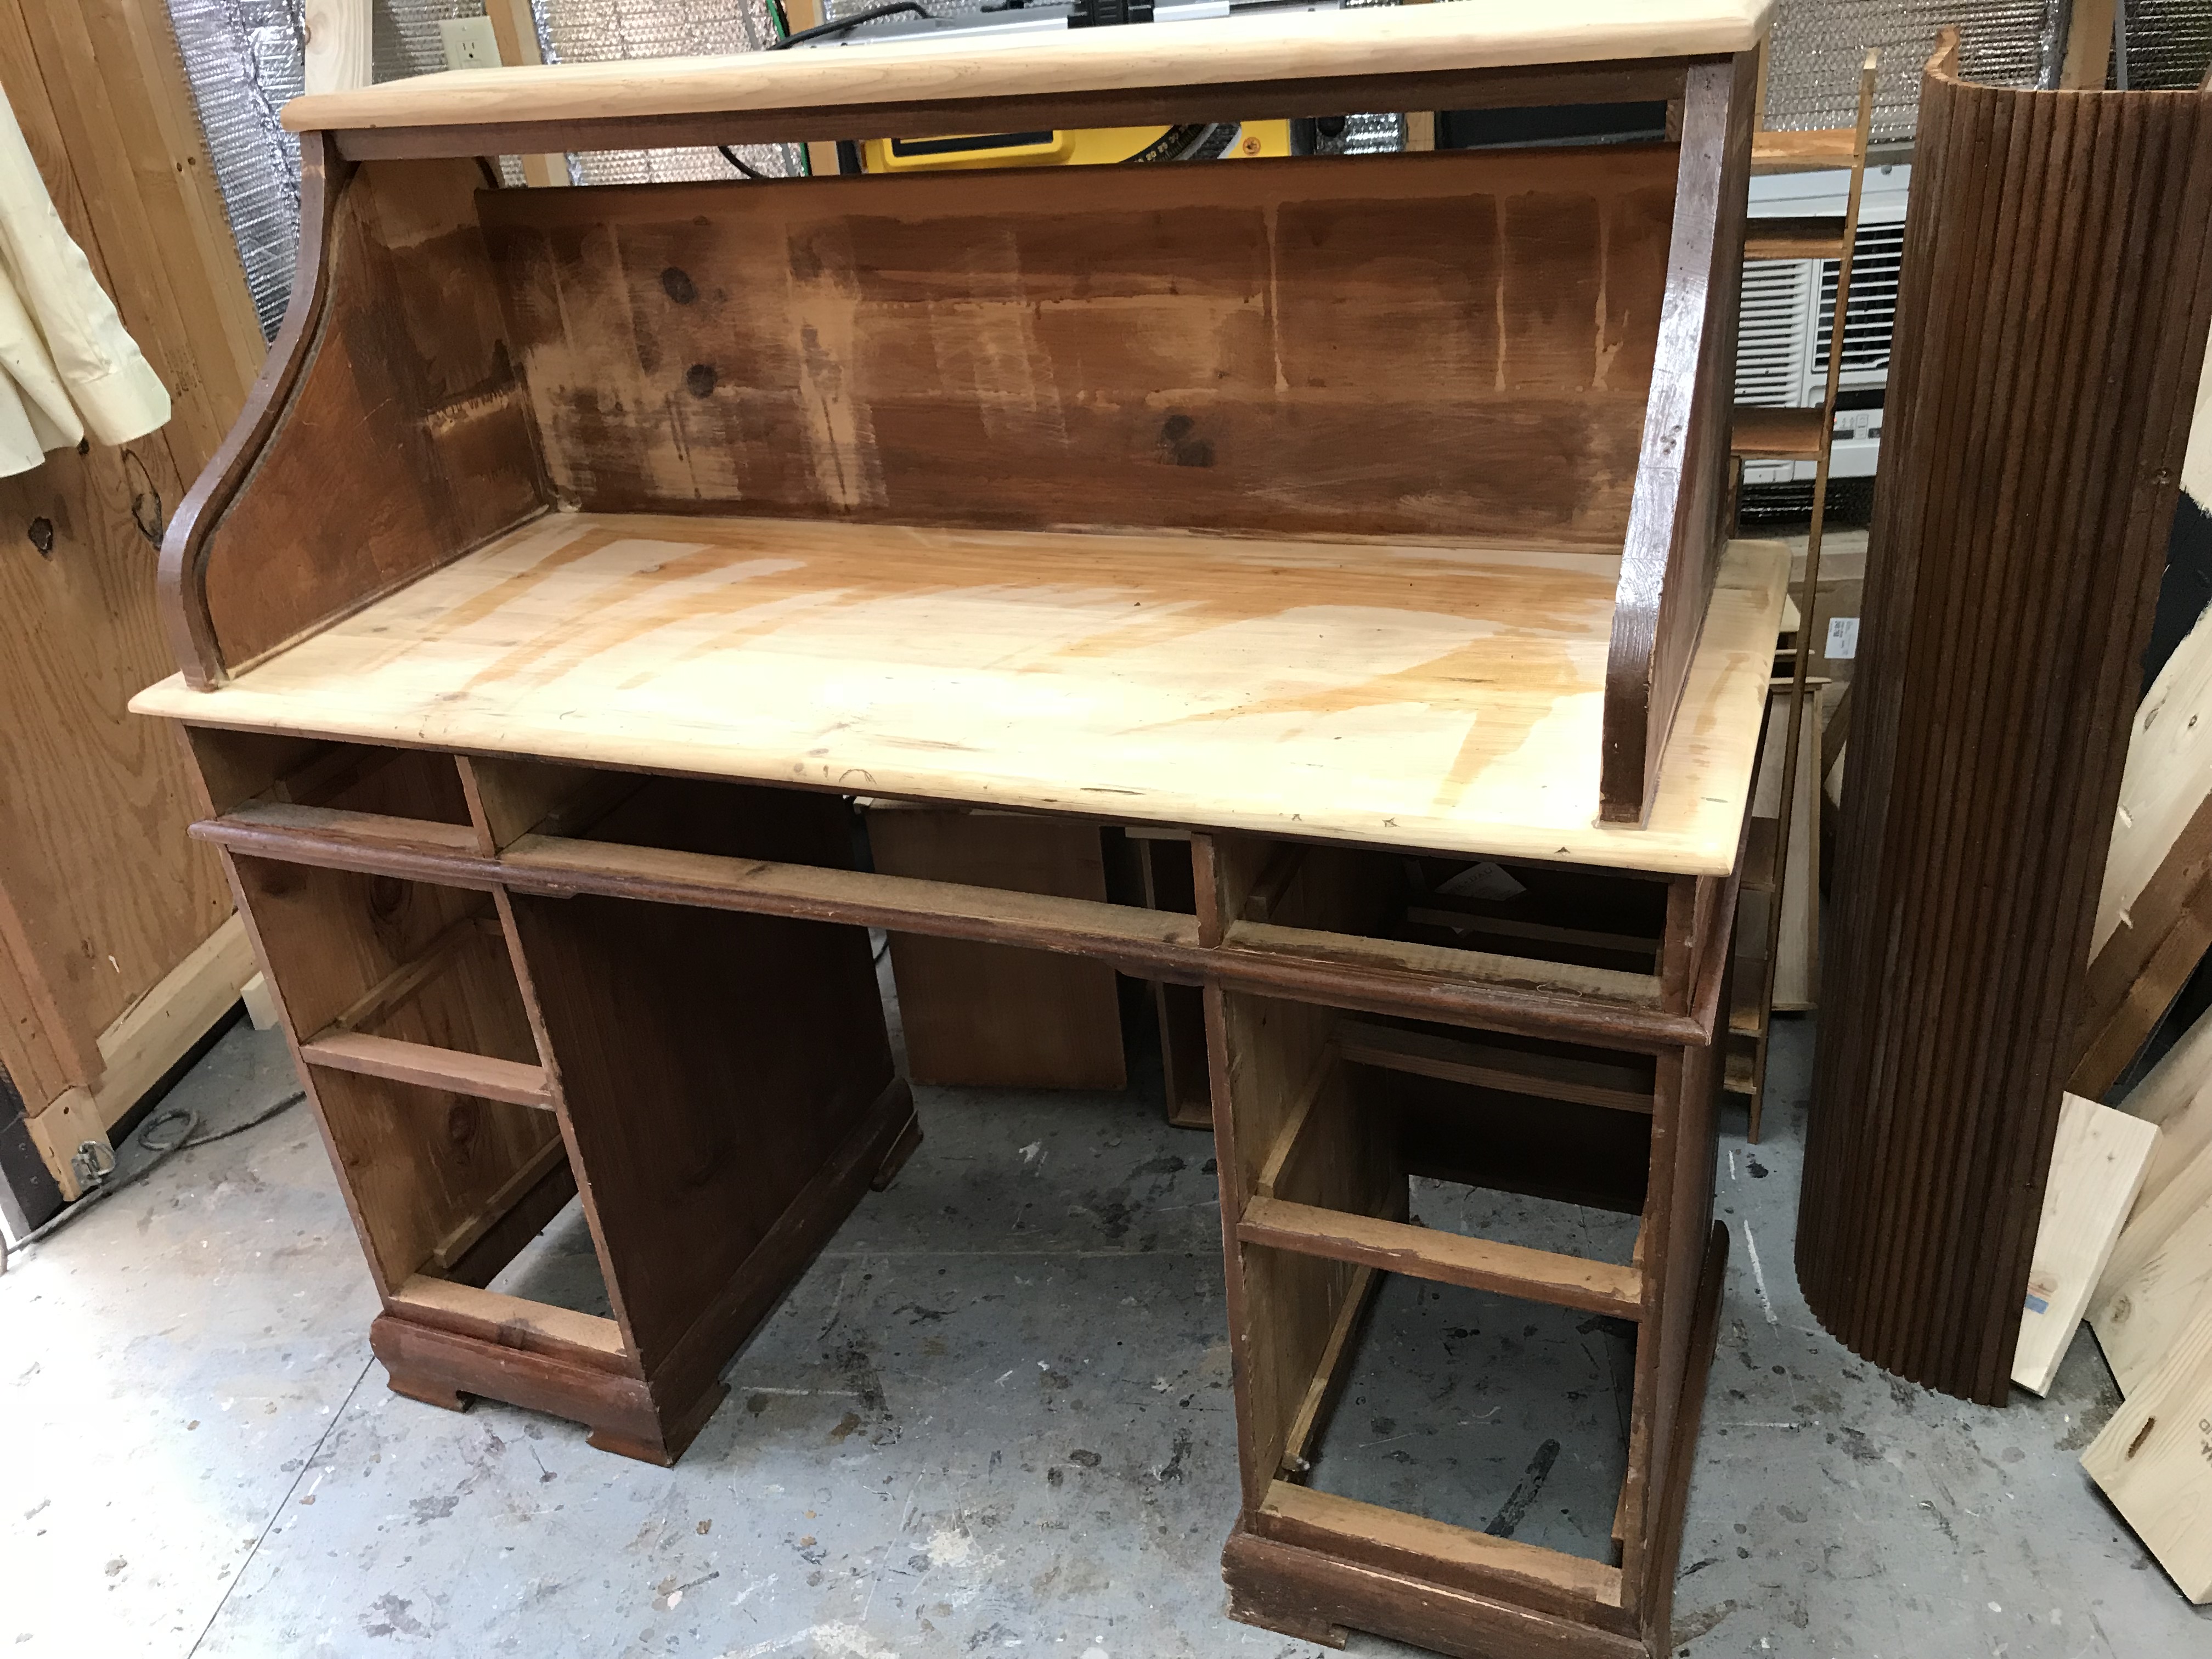
Next, I tackled the surfaces to be stained with my hand sander. I took the drawer fronts, workspace and top down to bare wood and sanded out all the scratches and damage. Finally, it was time for some finishes. I applied stain to the sanded surfaces and to the roll top itself. Then I painted the body of the desk. As I expected, the contrast was too stark so I applied a coat of Minwax Early American to the paint and wiped it off immediately. It created the perfect aged appearance for this desk. I painted the interior of the desk black to create contrast. Finally, I sealed it with Varathane Polyurethane in a Matte finish.
New hardware was a must, and I went with small knobs for the top drawers and the roll top and handles with wood accents for the remaining drawers. I used the same Java Gel on those wood accents to get them to blend with the rest of the piece.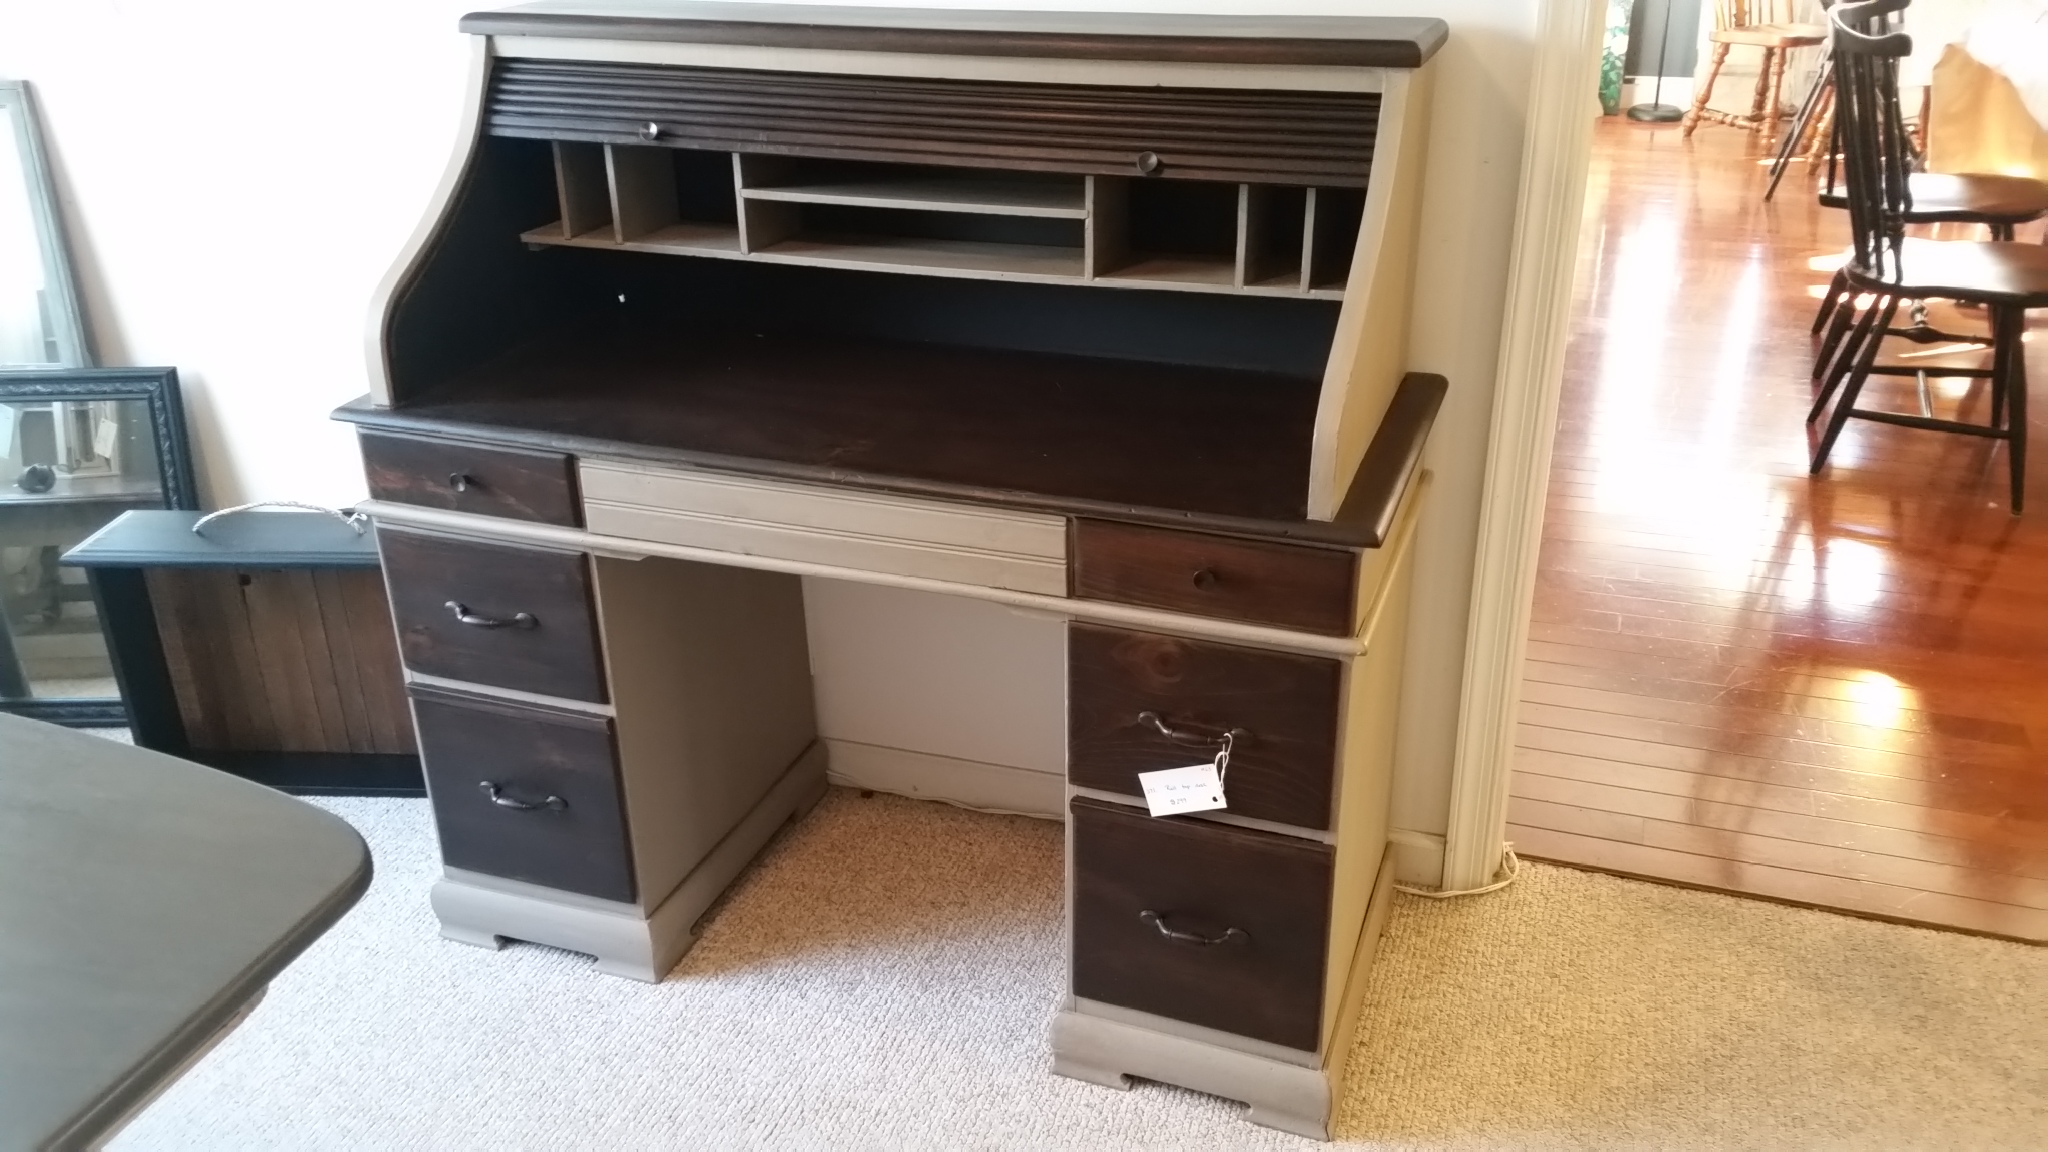
I absolutely love this desk. It has already had a great life, and now it has a chance to be loved by a someone new.
Hold my wine, I’ve got this…
Amy
If you enjoy these posts, please like, share or comment. If you would like to receive my blog posts via email, you can sign up here.