
Do you have a room that looks like this? It’s most likely the room where the family gathers to relax and watch TV, but it ends up looking like a giant nest of pillows and blankets. This room in my house was really working my nerves, but I was struggling to find a solution that would get buy-in. I couldn’t even envision MYSELF folding all of those blankets every evening because there really wasn’t a good place to put them. I LOVE cozying up with a book or a great show, but we needed a solution so that the room didn’t always look, well, LIKE THIS!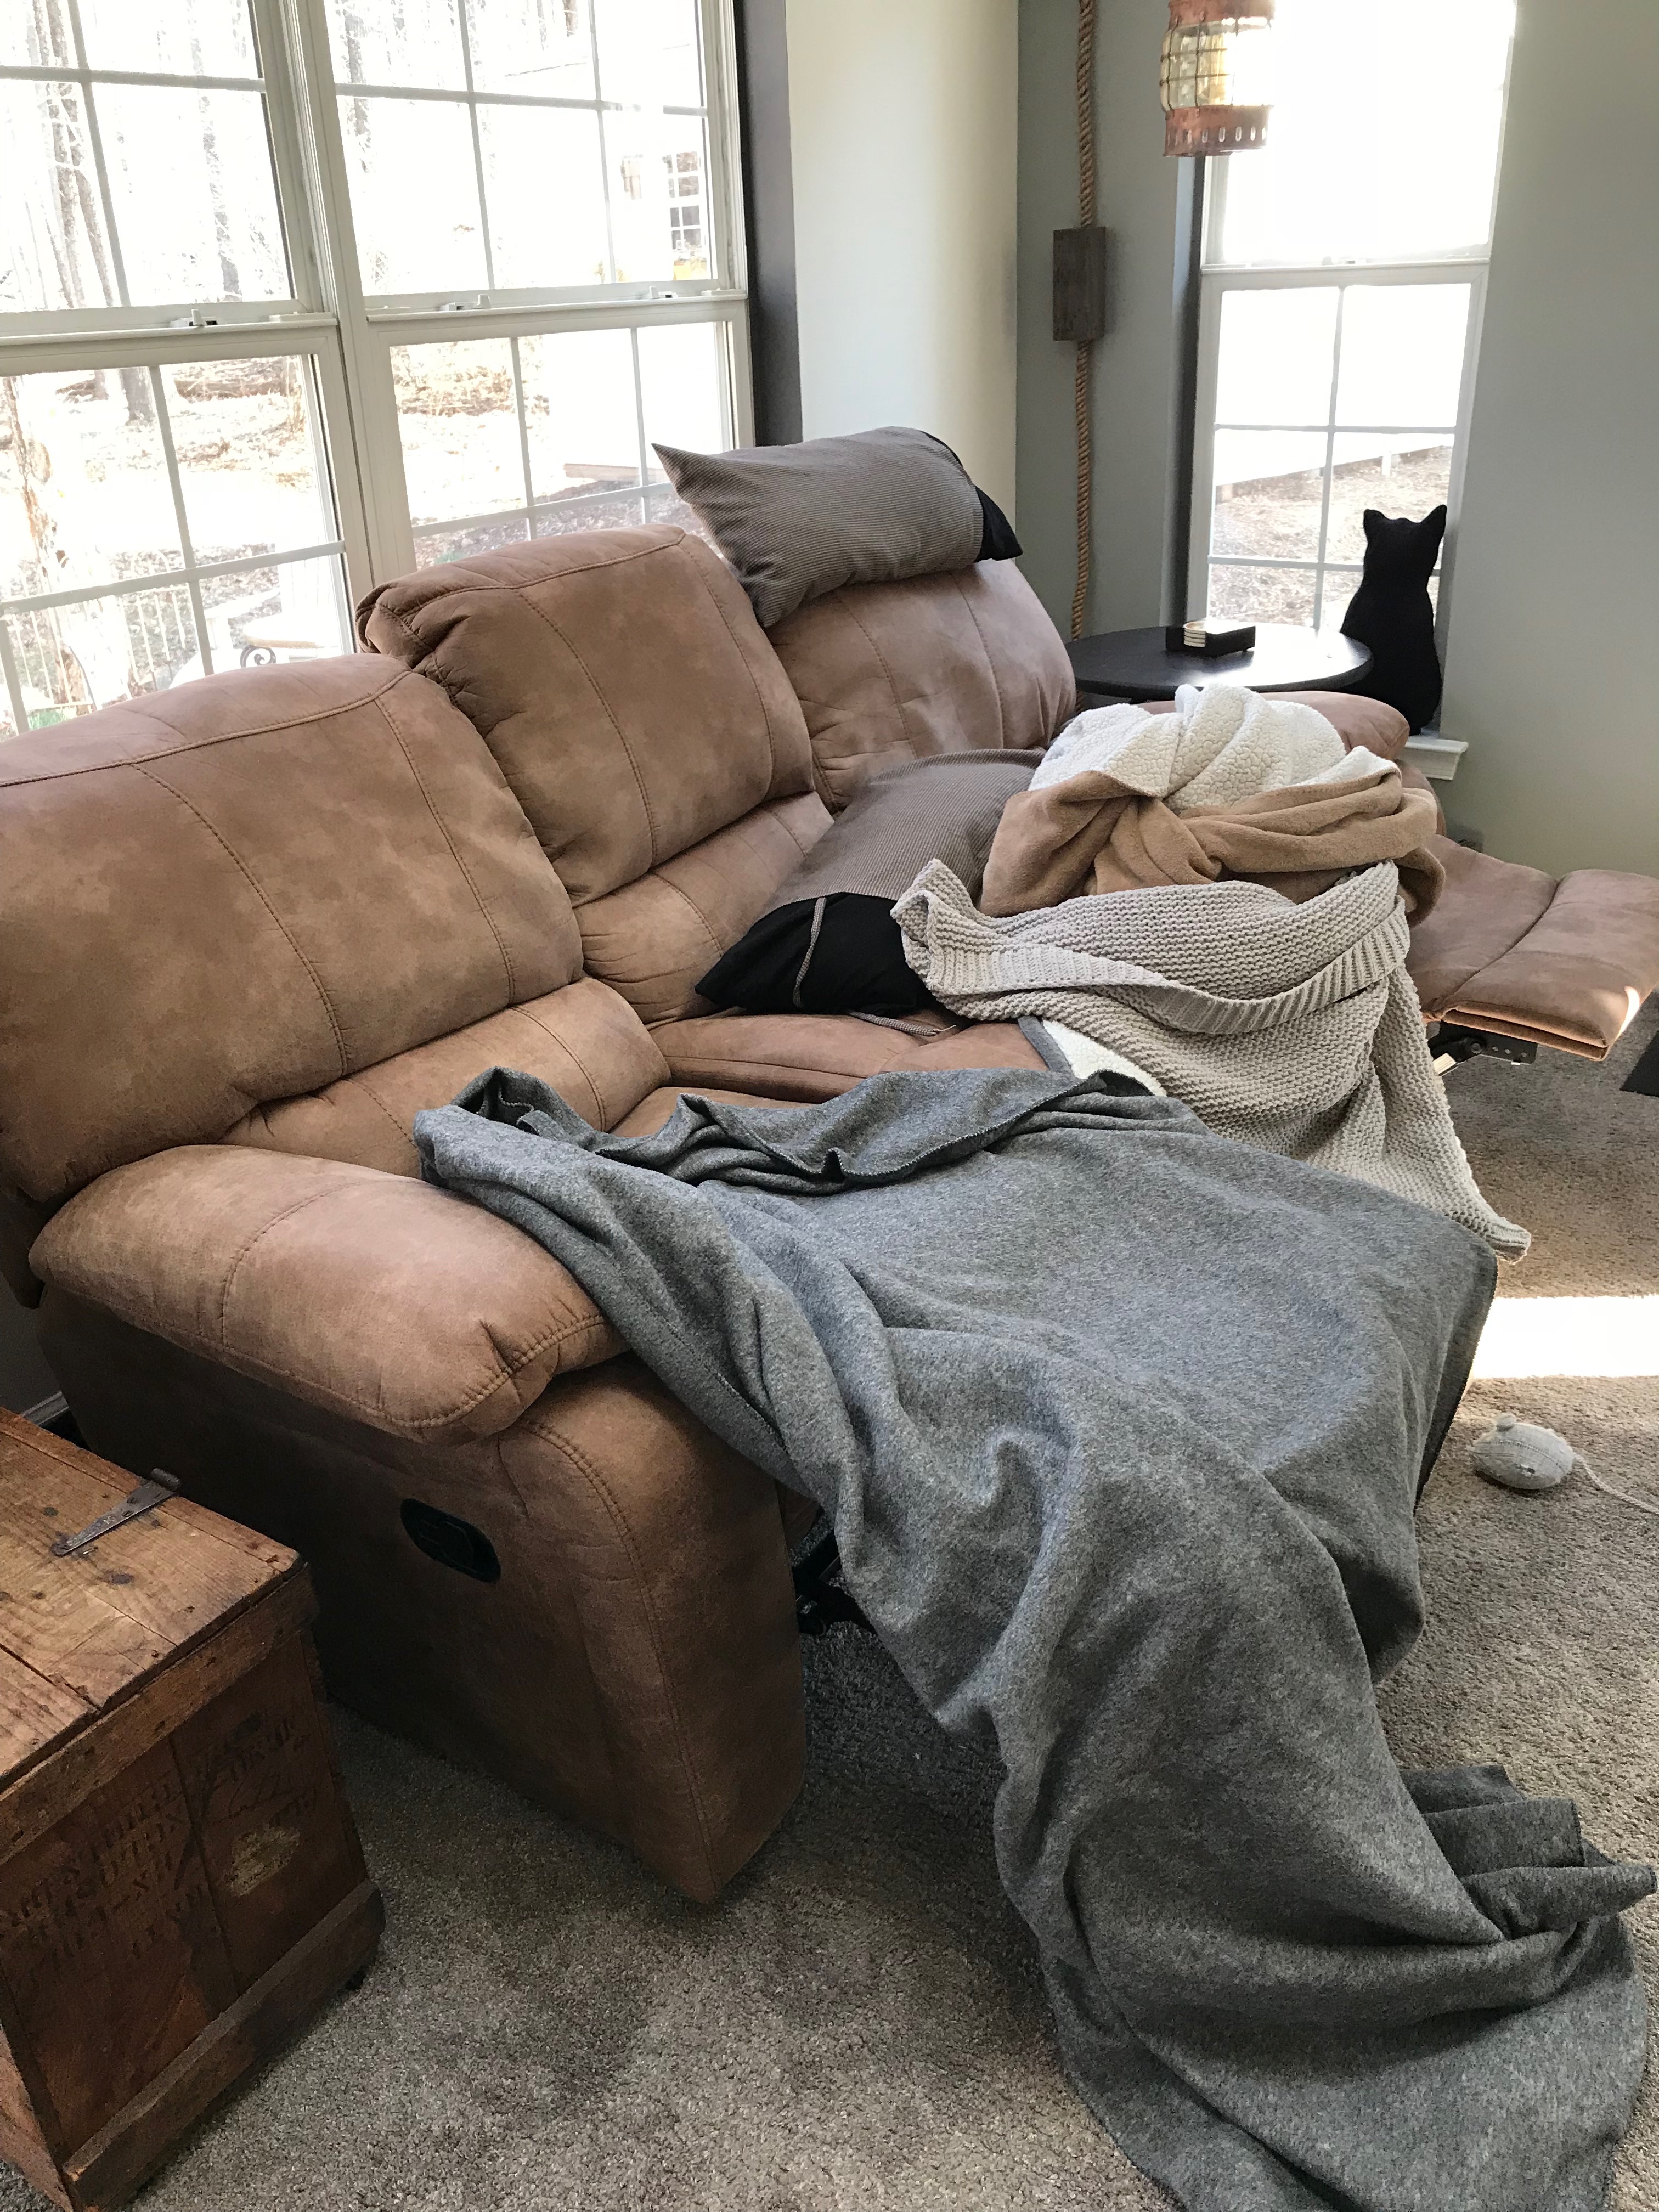
I was shopping online one day and found the perfect solution. For a couple hundred dollars. Ummm, no. As many of you know, I have a tendency to look at things and say “Oh I can TOTALLY make that!” There have been occasions where I have no business making such mental claims (plumbing, electricity, drywall) but in this situation, my confidence was warranted.
Off to my friendly Home Depot. I purchased all of the required piping and a couple of 1X4s. The 1/2″ pipe pieces are shown below. I anticipated that this was going to be a relatively quick project, and for the most part, it was. The most time-consuming part was removing those damn stickers from the pipes! I’m not kidding. Those things took FOREVER to get off. After an excruciating 45 minutes with a razor blade, adhesive remover, and a degreaser, I finally had clean, sticker-free pipes. They all got a quick spray of Oil Rubbed Bronze paint. I absolutely love this color because it gives a rich luster to hardware that accents many finishes. 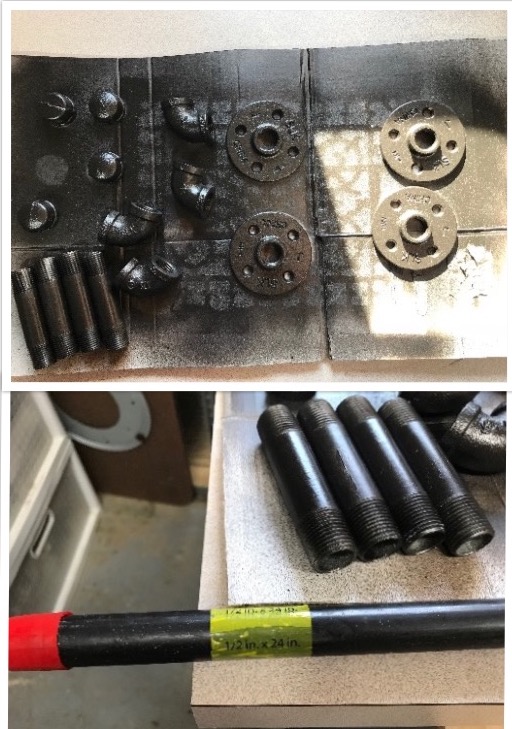
Next came the boards. I cut each board to 5′ and free-handed the general curve that I wanted for the ends. I cut out the curve with my jigsaw and then used that cut as the template for the other 3 curves. Everything got sanded down in an irregular pattern to give the boards a time-worn appearance. I wanted these pieces to look like old barn wood, so distressing was a must. My husband, armed with a hammer and wrench, volunteered for the job. A few minutes later I had randomly distressed boards. I drilled 7/8″ holes in the boards at 12″ intervals and sanded those holes in an uneven pattern as well to give the illusion of a well-worn ladder. 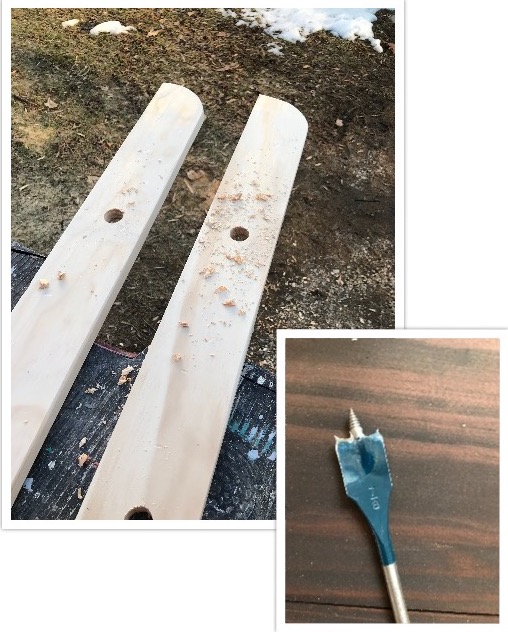
Finally, I stained the wood in a custom-blended color that Sherwin Williams created to match the hardwood floors in my house.
To assemble, I simply positioned rubber gaskets on the pipe just inside of each board to keep the boards in place. I screwed the pieces together and mounted it on the wall with toggles.
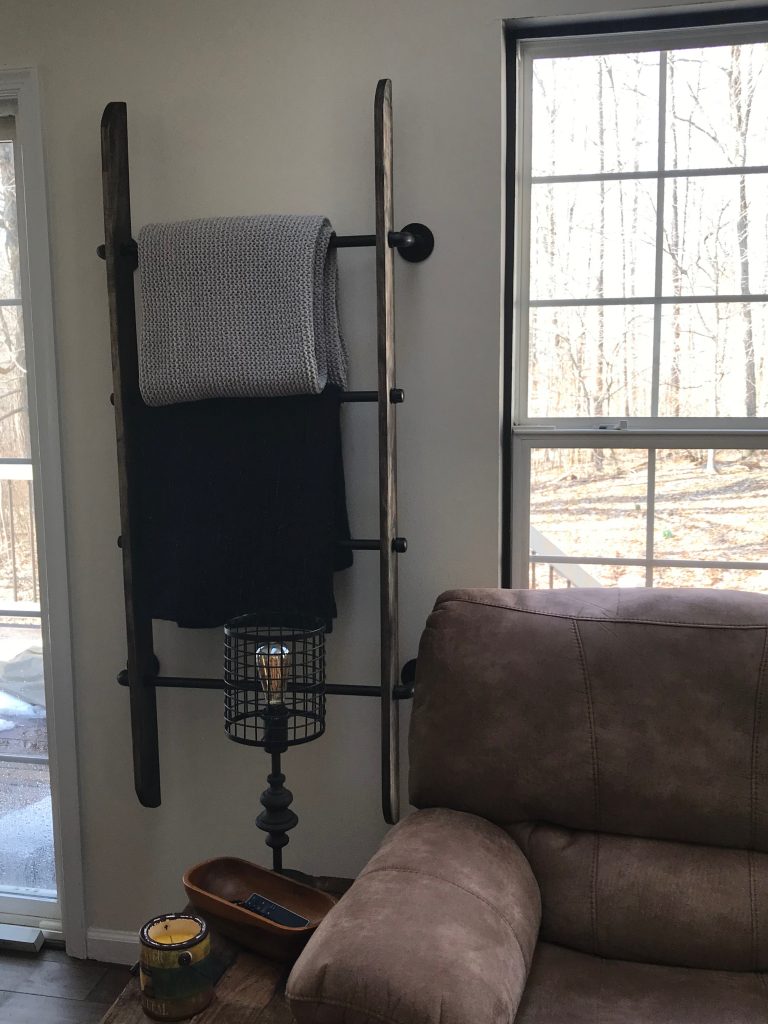 The blanket rack corrals the mess and is also a decorative element in the room.
![]()
Hold my wine, I’ve got this…
Amy
If you enjoy these posts, please like, share or comment. If you would like to receive my blog posts via email, you can sign up here.